How to replace sway bar links on a Toyota Previa Van (91 - 97)?
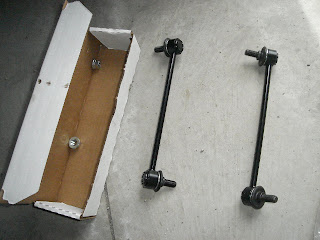
(The sway bay links are dogbone shaped metal pieces with ball joints at both ends)
Tools required for this job:
NOTE: The whole operation took me 3 hours and costed me $56 (new sway bars)+$3.99 (socket)+$35 (Jack stands) = $94.99. I saved $370.01 over the estimate given by the Toyota Dealer.
Challenges and recommendations before you start working on your car:
- The biggest challenge was to remove the old sway bars due to rust (You can overcome this by using a penetrating oil on the nuts a day before)
- Since I believe the old sway bars were the original, they were tightened using a compression tool and were really hard to unscrew even after I used the penetrating oil as well as WD-40.
(Let's Began)
Jack and properly support the front of the vehicle on jack stands and make sure you put something (brick or a block of wood behind/front of the rear tires to make sure the van doesn't move during this opration.
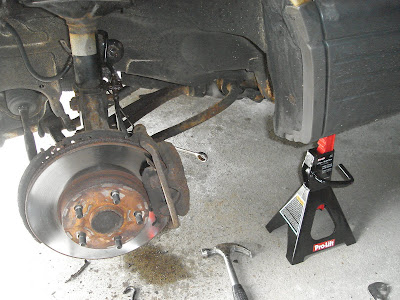
Remove both front tires to access the sway-bars
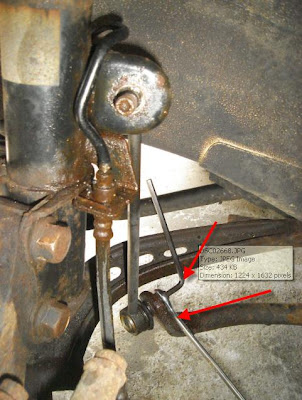
Spray penetrating oil on all link nuts, using caution to avoid getting over-spray on brakes.
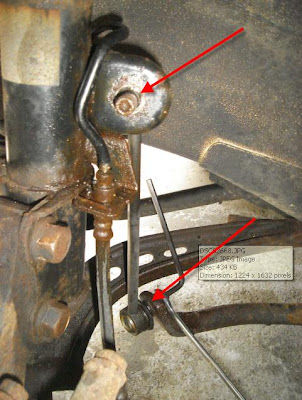
Remove both nuts from the link by holding the hex portion of the stud using a hex KEY, while removing the nut with a BOX KEY
Insert the new link and torque nuts to 30 ft-lbs. Repeat on other side if replacing both links
I hope this was helpful to you all
Thanks
Disclaimer: I am NOT a Mechanic. I am an IT professional with a can do attitude. I believe you can do anything if you put your heart in to it, but I have another reason for fixing my car(s) myself and that’s the high cost of repair from our beloved dealership or even a local workshops. Please don’t get me wrong I understand for certain type of repairs I will use my dealer or a local mechanic, but for things like these we all should be able to get the job done and save hundreds (E.g. my Toyota dealer gave me an estimate of $465.00 to replace the front sway bar links on my 95 Previa and a $503.00 just to clean not even replace the EGR valve to fix the “Check Engine light”. This ridicules price estimate was enough motivation/reason for me to do this work myself. So please consider these words before following my instructions and working on your car yourself.


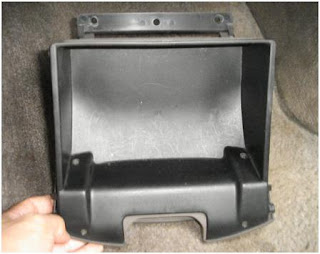
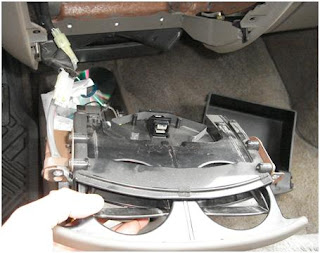
 (Ashtray removed